
No products in the cart.

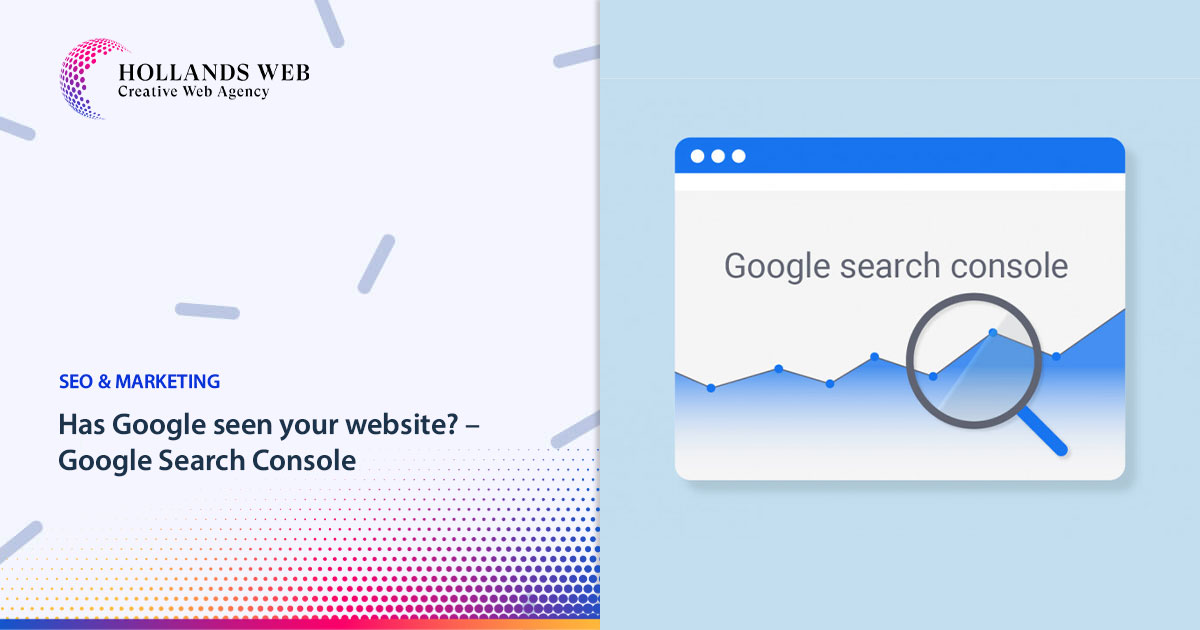
How to connect Google Search Console to Yoast SEO
It is straightforward to add your website to Google Search Console — it just takes a couple of steps. Here, we’ll guide you through the process. First, you need to have a Google Search Console account. Don’t have an account? Sign up now for Google Search Console. Once you’ve done that, you can follow the steps below:
1. Go to Google Search Console.
Login or click ‘Start Now’, if needed.
2. Click ‘Add a property’ under the search drop-down.
You can add up to 1000 properties to your Google Search Console account.
3. Enter your website URL in the box and click ‘Continue’.
Please make sure you enter your complete URL. For example, if your site is https://yourdomain.com/ it needs to be that exact URL. Don’t forget the / at the end of the URL. If your site uses WWW or is using HTTP you need to add properties for those as well. Google provides multiple ways of getting your site verified and they even suggest adding multiple ways because of security. If you are not sure what your site has, please speak with your host provider.
4. Click the arrow next to ‘HTML tag’ to expand the option.
There are several ways to verify your site, but we’ve made it easy for you. We only need to get the authorization code so we can paste it in Yoast SEO.
5. Copy the meta tag.
Highlight the entire meta tag code. Right-click on the highlighted tag and click on ‘Copy’ or use the copy shortcuts ctrl-c on Windows or cmd-c on Mac.
6. Log in to your WordPress website.
When you’re logged in, you will be in your ‘Dashboard’.
7. Click on ‘SEO’.
On the left-hand side, you will see a menu. In that menu, click on ‘SEO’.
8. Click on ‘General’.
The ‘SEO’ settings will expand providing you with additional options. Click on ‘General’.
9. Click on the ‘Webmaster Tools’ tab.
This page has all the fields to past the verification codes for the various webmaster tools.
10. Paste the code in the Google field and click “Save Changes”.
11. Go back to Google Search Console and click ‘Verify’.
Congratulations! You’ve connected your website to Google Search Console! Now that you’ve verified and linked your site, you can submit your sitemap. Not to mention all the other cool stuff that’s Search Console capable of!
How to fix crawl errors in Yoast SEO
Whenever Google crawls your site to see if it can put your content in its index, it might encounter errors. It could be that a page was unavailable, your server ran into issues, or maybe your robots.txt file ordered Google’s crawler to do something weird. There are a lot of ways crawl errors might occur. Luckily, Search Console tracks these errors and gives you advice on how to fix these. What’s more, by authorizing Yoast SEO to read those crawl errors you can quickly fix these in the plugin itself. Learn how to connect Yoast SEO to Search Console to retrieve crawl errors.
It’s easy to connect your website to Google Search Console
We’ve made it very easy to connect your site to Search Console, and we strongly recommend you to do so. Search Console gives you a wealth of information on the performance of your site. Not only does it show you what goes right, but, more importantly, what goes wrong. The advice you get is very actionable, and most things are easy to follow up on.
PS: How to check your verification tag
If you need to check your verification, you can do so easily by following the steps below:
1. Go to the top-left and select your domain2. Select Settings in the menu bar
2. Click on Ownership Verification4.
3. Click on HTML Tag and see if verification tag matches.
You may also like
Table of Contents Toggle Use a Lightweight and Fast Theme:Optimize Images:Enable Caching:Minify CSS and JavaScript:Enabl...

Table of Contents Toggle What is Internal Server Error 500?How to Fix “the 500 Internal Server Error” in Wor...
Table of Contents Toggle 1. php.ini file:2. .htaccess file:3. functions.php file:4. wp-config.php file:5. Theme or plugi...

What is the correct code for turning HTML elements (H1, H2 or Paragraph etc..) into a link and search engines index text...
 Web Hosting
 Web Designs
 Graphic Design
 SEO
SEO Digital Marketing